
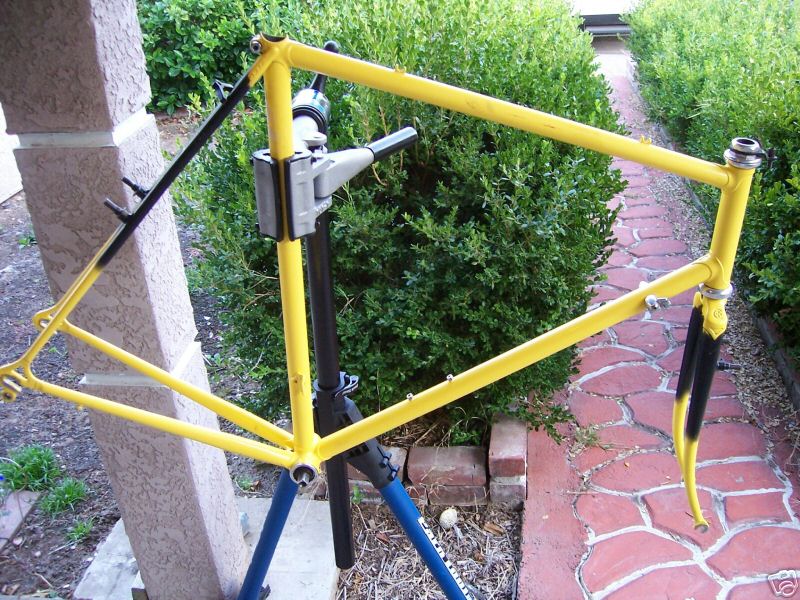
So, the frame is "saved" and I decided to go forth and apply the decals. It was an involved process, I used the wet... application method, where you apply some soapy water to the frame in order for the decals to be moved and adjusted a little before they set up. It allowed for a little adjustment, but not a lot.


The seat tube decal was a little too wide and should have been trimmed prior to application, but in all, it looks pretty cool. Especially, if you recall what the frame looked like when I first got it.
There are still a few parts I'm waiting on: the chainrings are on their way and the italian octalink BB still needs to be ordered. Also, I'm on the hunt for a new stem as well. I have one, but I'm not sure I like it. Its not shiny enough.
2 comments:
You've got reason to be very proud of that frame!
What kind of decals did you use?
Did you have to clear-coat it after applying them?
Post a Comment